Create an option set
An option set is a group of options — a color swatch, an engraving field, a gift-wrap checkbox — together with the rule for which products they appear on. You build option sets in the OptionWise admin; this page walks through building one, whether it’s your first or your fifth.
Haven’t installed OptionWise yet? Start with Install OptionWise.
Build the option set
Start a new option set
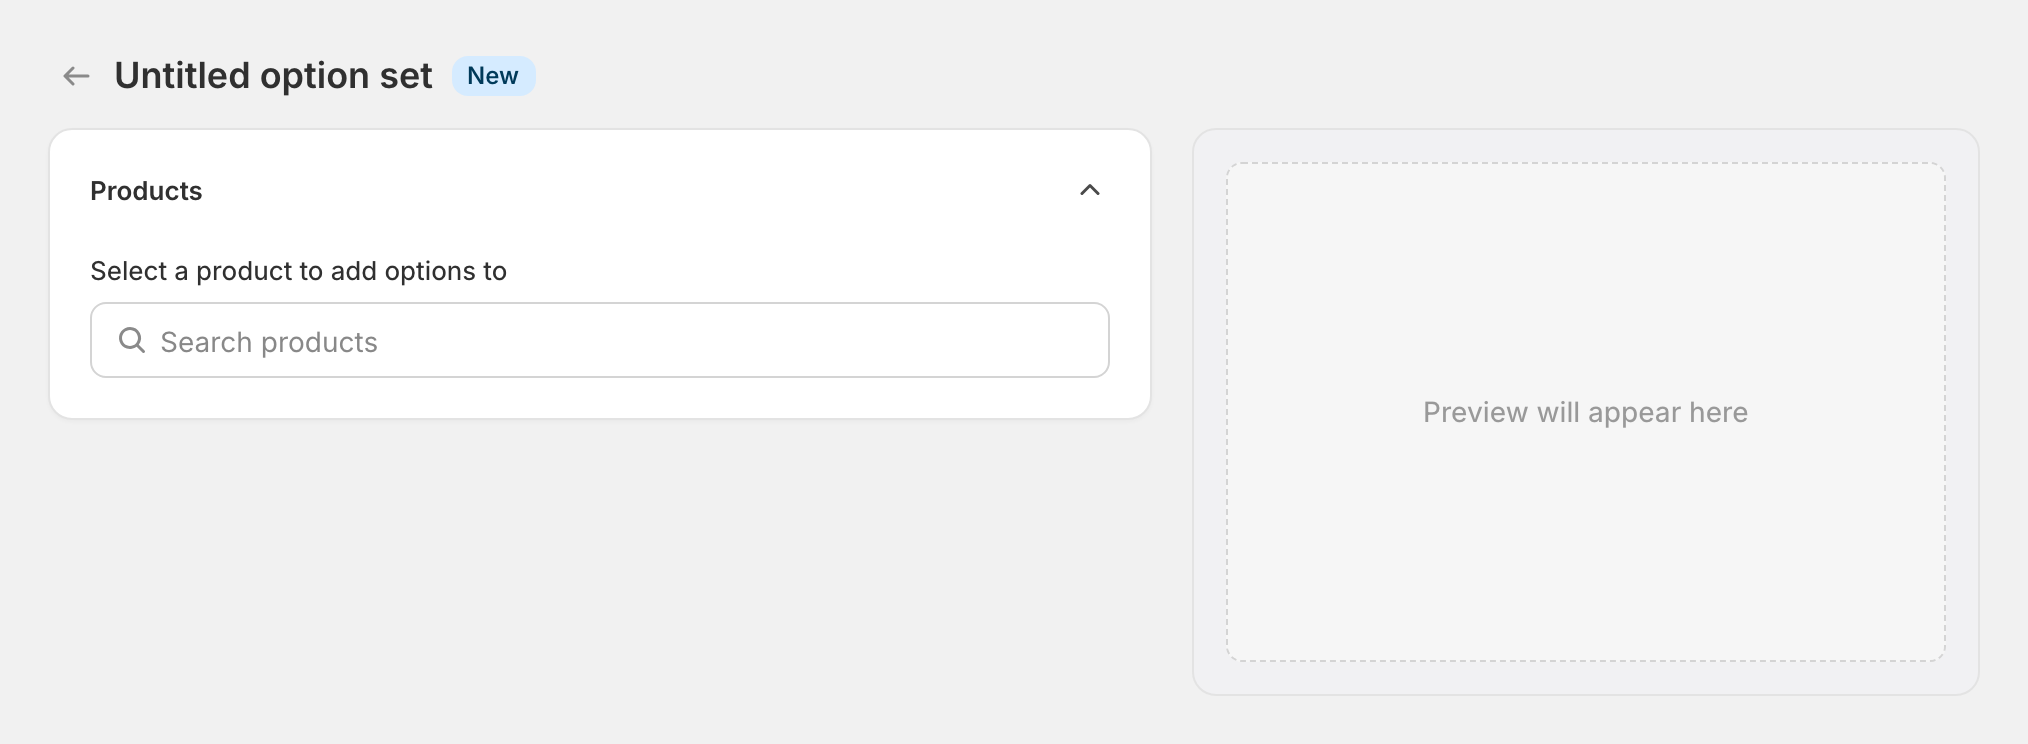
On the OptionWise home page, find the Option sets card and click New option set. The editor opens on a fresh set — the page header reads New option set, and once your options appear it shows the set’s name (Untitled option set with a New badge until you, or the AI suggestions below, give it one).
Choose which products it applies to
In the Products card, choose the products these options attach to — all products, specific products, collections, tags, or product types. This is required: an option set with no targeting won’t render anywhere — and it’s also what kicks off the AI suggestions in the next step.
See Assign to products for the full rundown of targeting modes.
Review the suggested options
The moment you’ve chosen your products, OptionWise looks at them and suggests options automatically — see AI option suggestions below for how this works. Each suggestion drops into the Options card with a Suggested badge; keep the ones that fit, remove the rest, and edit anything. Prefer to start from a blank slate? Choose Continue with manual setup.
Add or edit options
In the Options card, click Add another option for each new option (or open a suggested one to tweak it). An option block opens with two key fields:
- Option name — what customers see on the product page (“Color”, “Engraving text”). You can leave it blank for a standalone checkbox; see the yes/no toggle pattern.
- Type — pick from the Type dropdown. Types are grouped into Selection (dropdown, buttons, radio, checkboxes, color swatches, image swatches), Text (single line, multi line), Numeric (number), Upload (file upload), and Advanced (linked product). See Option types to choose.
If you picked a selection type, an Option values list appears. Fill in the first value, then click Add another value for each one after that. Color and image swatches add a color picker or image picker next to each value. Text, number, and file-upload options have no preset values — the customer fills them in — so this step is skipped.
Click Done to collapse an option, and repeat for as many as you need.
Name the set
At the bottom of the editor, the Option set name field holds the name you’ll see in the admin — customers never see it. If AI suggestions came back, OptionWise fills this in for you from your products (for example “Wall Art Options”); otherwise it stays Untitled option set. Change it to anything you’ll recognize later (“Engraving + gift wrap”, “T-shirt options”). The name also appears in the page header at the top.
Save
OptionWise uses Shopify’s save bar at the top of the screen. Click Save to store your option set. If validation catches a problem you’ll see “Please fix the highlighted issues before saving.” — fix the flagged fields and save again.
New option sets are created Active (published) by default, so as soon as you save, a published set starts appearing on its targeted products (provided the plugin is on your theme). To work on it privately first, set it to Draft using the publish toggle. See Publishing & drafts.
AI option suggestions
When you choose which products an option set targets, OptionWise looks at those products and suggests options for you — the kind of choices shops selling similar products commonly offer. It’s a head start, not a finished set: keep the ones that fit, remove the rest, and adjust anything.
How suggestions are generated
As soon as a new option set has targeting but no options yet, OptionWise:
- Samples your targeted products — across whichever targeting you set (specific products, a collection, tags, product types, or all products).
- Reads their details — titles, product types, descriptions, and tags.
- Compares them to similar listings and shortlists the options those shops use most often.
A short card appears while this runs (“Finding options that fit your product”). When it finishes, the suggested options drop into your Options list, each tagged Suggested, and OptionWise fills in a default set name.
Suggestions only appear for a set that has no options yet. OptionWise never overwrites or stacks suggestions on top of options you’ve already added. To ask for a fresh round, change the set’s targeting — while the set still has no options, every targeting change re-runs the suggestions.
Reviewing suggestions
Each suggested row carries Keep and Remove actions. Keep the ones that fit, remove the ones that don’t, and edit any of them — rename labels, add or remove values, set defaults or pricing — just as you would for an option you built by hand. Editing a suggestion keeps it automatically. Removed a row by mistake? An Undo strip lets you put it back. Nothing is live until you Save (and the set is published).
Prefer to start from scratch? Choose Continue with manual setup and OptionWise opens an empty option for you to build yourself.
Getting better suggestions
Suggestions are only as good as what OptionWise can learn about your products. To get stronger ones:
- Target similar products together. A set aimed at products that are alike (all wall art, all engraved jewelry) yields more relevant, more confident suggestions than a mixed bag.
- Fill in your product details. Make sure your products have a product type, a description, and tags. Sparse products give OptionWise little to work with.
When suggestions don’t appear
OptionWise won’t invent options it isn’t confident about. If it comes back empty, the card explains why — the products are too different, they don’t have much information, or the options it would suggest are already covered by your variants. In every case you can build the set by hand with Continue with manual setup — suggestions are a convenience, never a requirement.
Going further
Each option has a Show advanced settings panel for optional extras, arranged as tabs:
- Visibility — show the option only after another choice is made. See Conditional logic.
- Default — preselect a value. See default values per option type.
- Pricing — charge an add-on when a value is chosen. See Add-on prices.
- Validation — make a field required, or cap how many values a customer can pick.